Overview of Working with Images
By leveraging the power of some common libraries that you can install, such as PILLOW, Python gains the ability to work with and manipulate images for simple tasks. You can install Pillow by running:
pip install pillow
In case of any issues, you can refer to their official documentation on installation. But for most computers, the simple pip install method should work.
Note: When working with images in the jupyter notebook, you may get the following warning:
IOPub data rate exceeded.
The notebook server will temporarily stop sending output
to the client in order to avoid crashing it.
To change this limit, set the config variable
`--NotebookApp.iopub_data_rate_limit`.
If you get this warning, try stopping the notebook at the command line, then restarting it with:
jupyter notebook --NotebookApp.iopub_data_rate_limit=1.0e10
** At the command line. Basically this adds a “flag” that the limit should be raised during this session of jupyter notebook that you are running.**
Working with Pillow Library
Opening Images
You can use Pillow to open image files. For a jupyter notebook, to show the file simply type the variable name holding the image. For other IDEs , the image variable will have a .show() method.
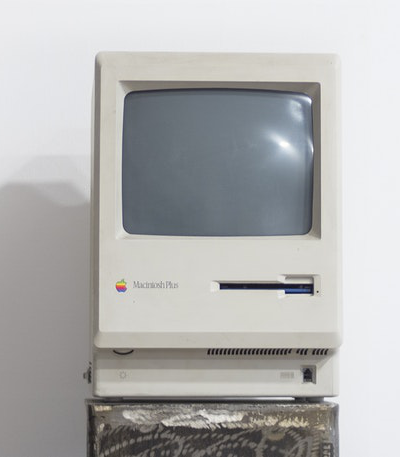
from PIL import Image
mac = Image.open('example.jpg')
# Note this is a specialized file type from PIL (pillow)
type(mac)
PIL.JpegImagePlugin.JpegImageFile
# Only for jupyter notebook , use mac.show() for other IDEs
mac
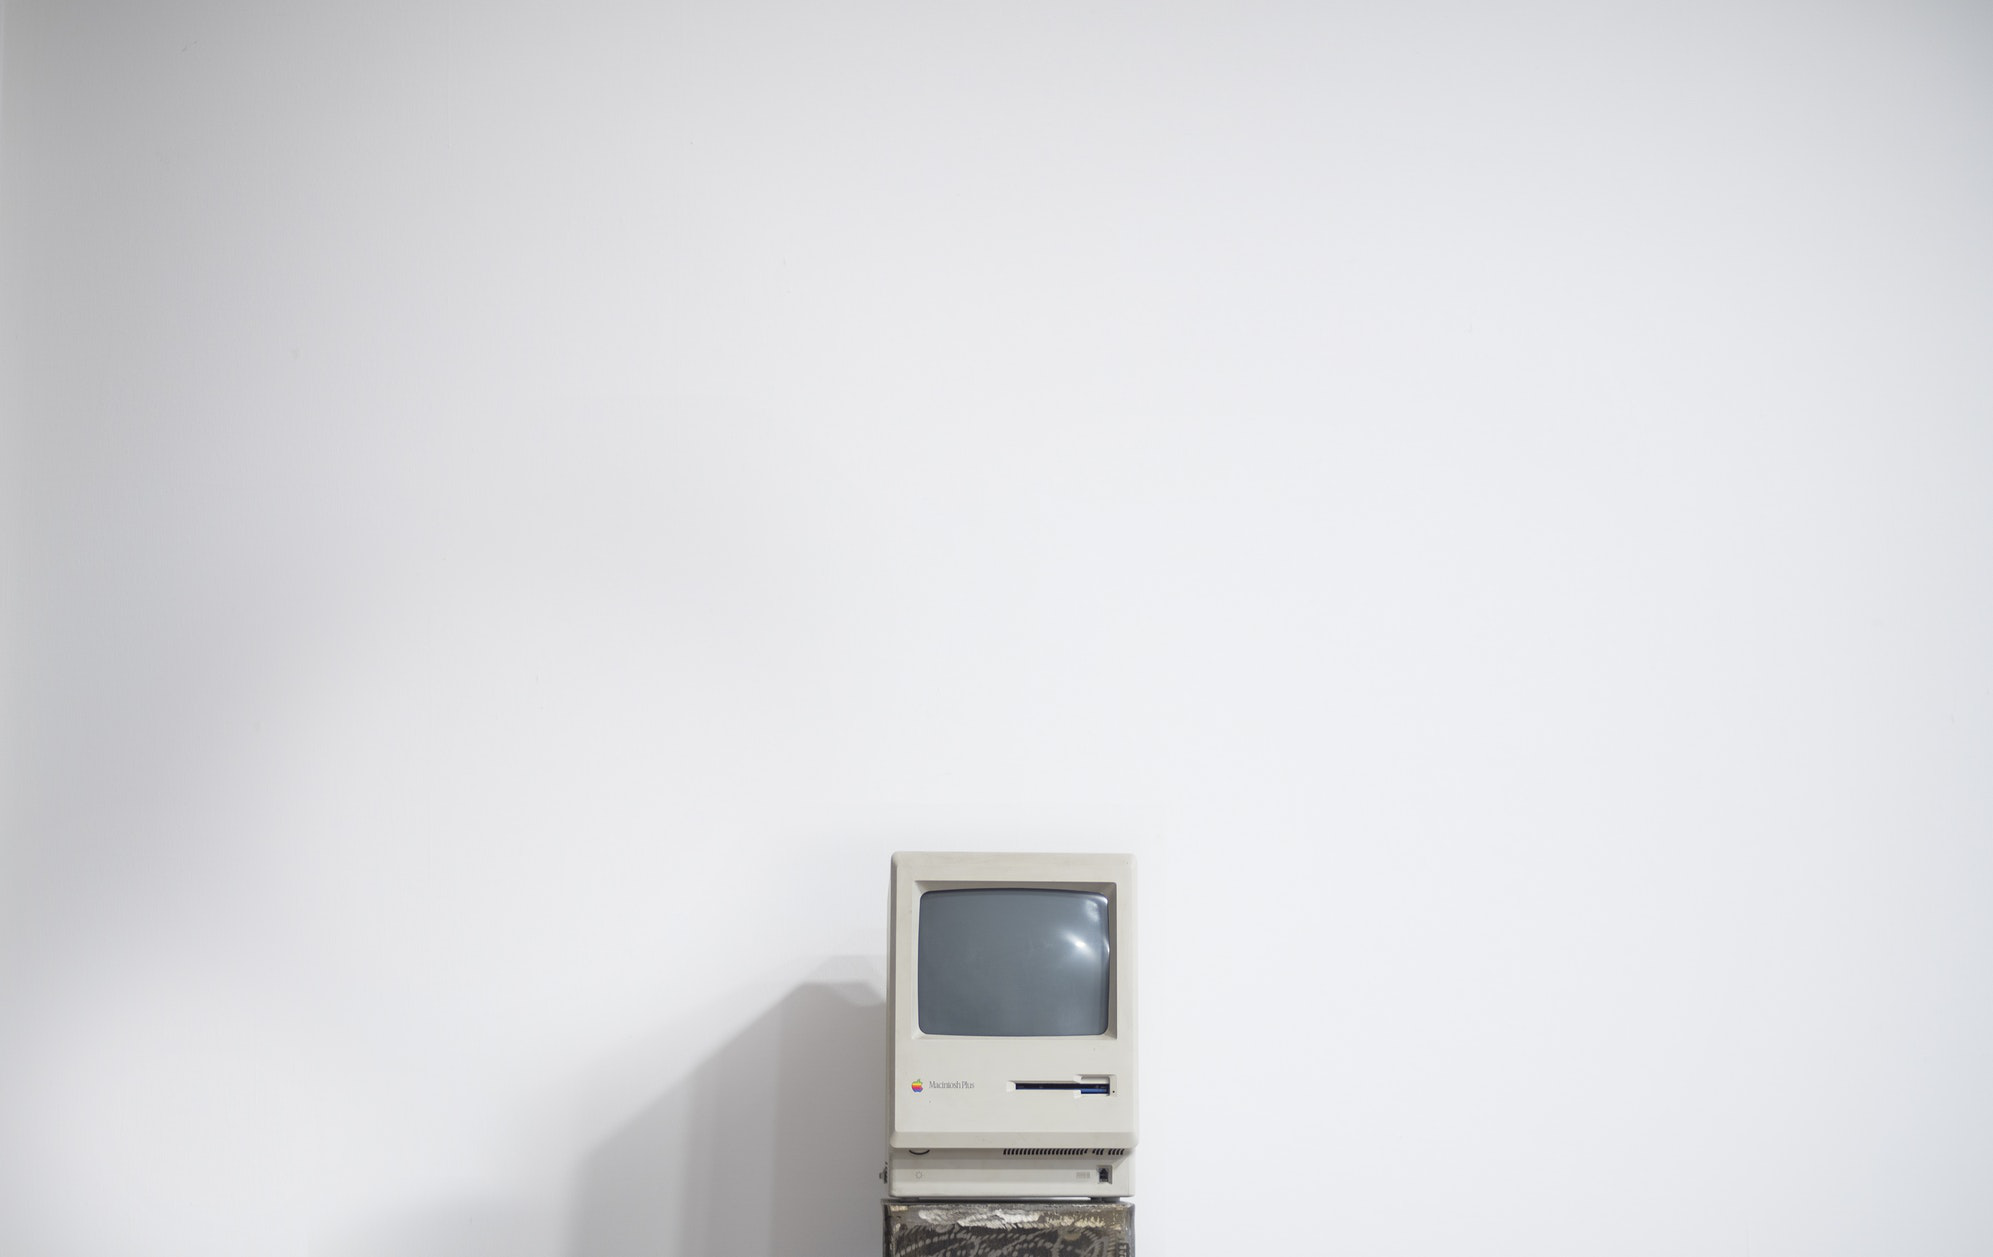
Image Information
# (width, height)
mac.size
(1993, 1257)
mac.filename
'example.jpg'
mac.format_description
'JPEG (ISO 10918)'
Cropping Images
To crop images (that is grab a sub section) you can use the crop() method on the image object. The crop() method returns a rectangular region from this image. The box is a 4-tuple defining the left, upper, right, and lower pixel coordinate.
Note! If you take a look at the documentation string, it says the tuple you pass in is defined as (x,y,w,h). These variables can be a bit decieving. Its not really a height or width that is being passed, but instead the end coordinates of your width and height.
All the coordinates of box (x, y, w, h) are measured from the top left corner of the image. Again, all 4 of these values are coordinates!
mac.crop((0,0,100,100))
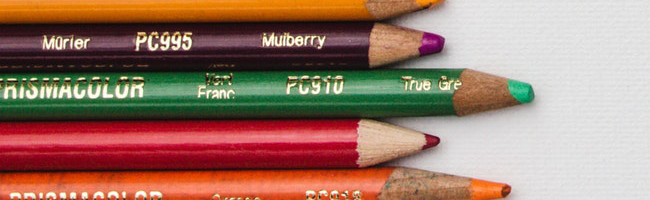
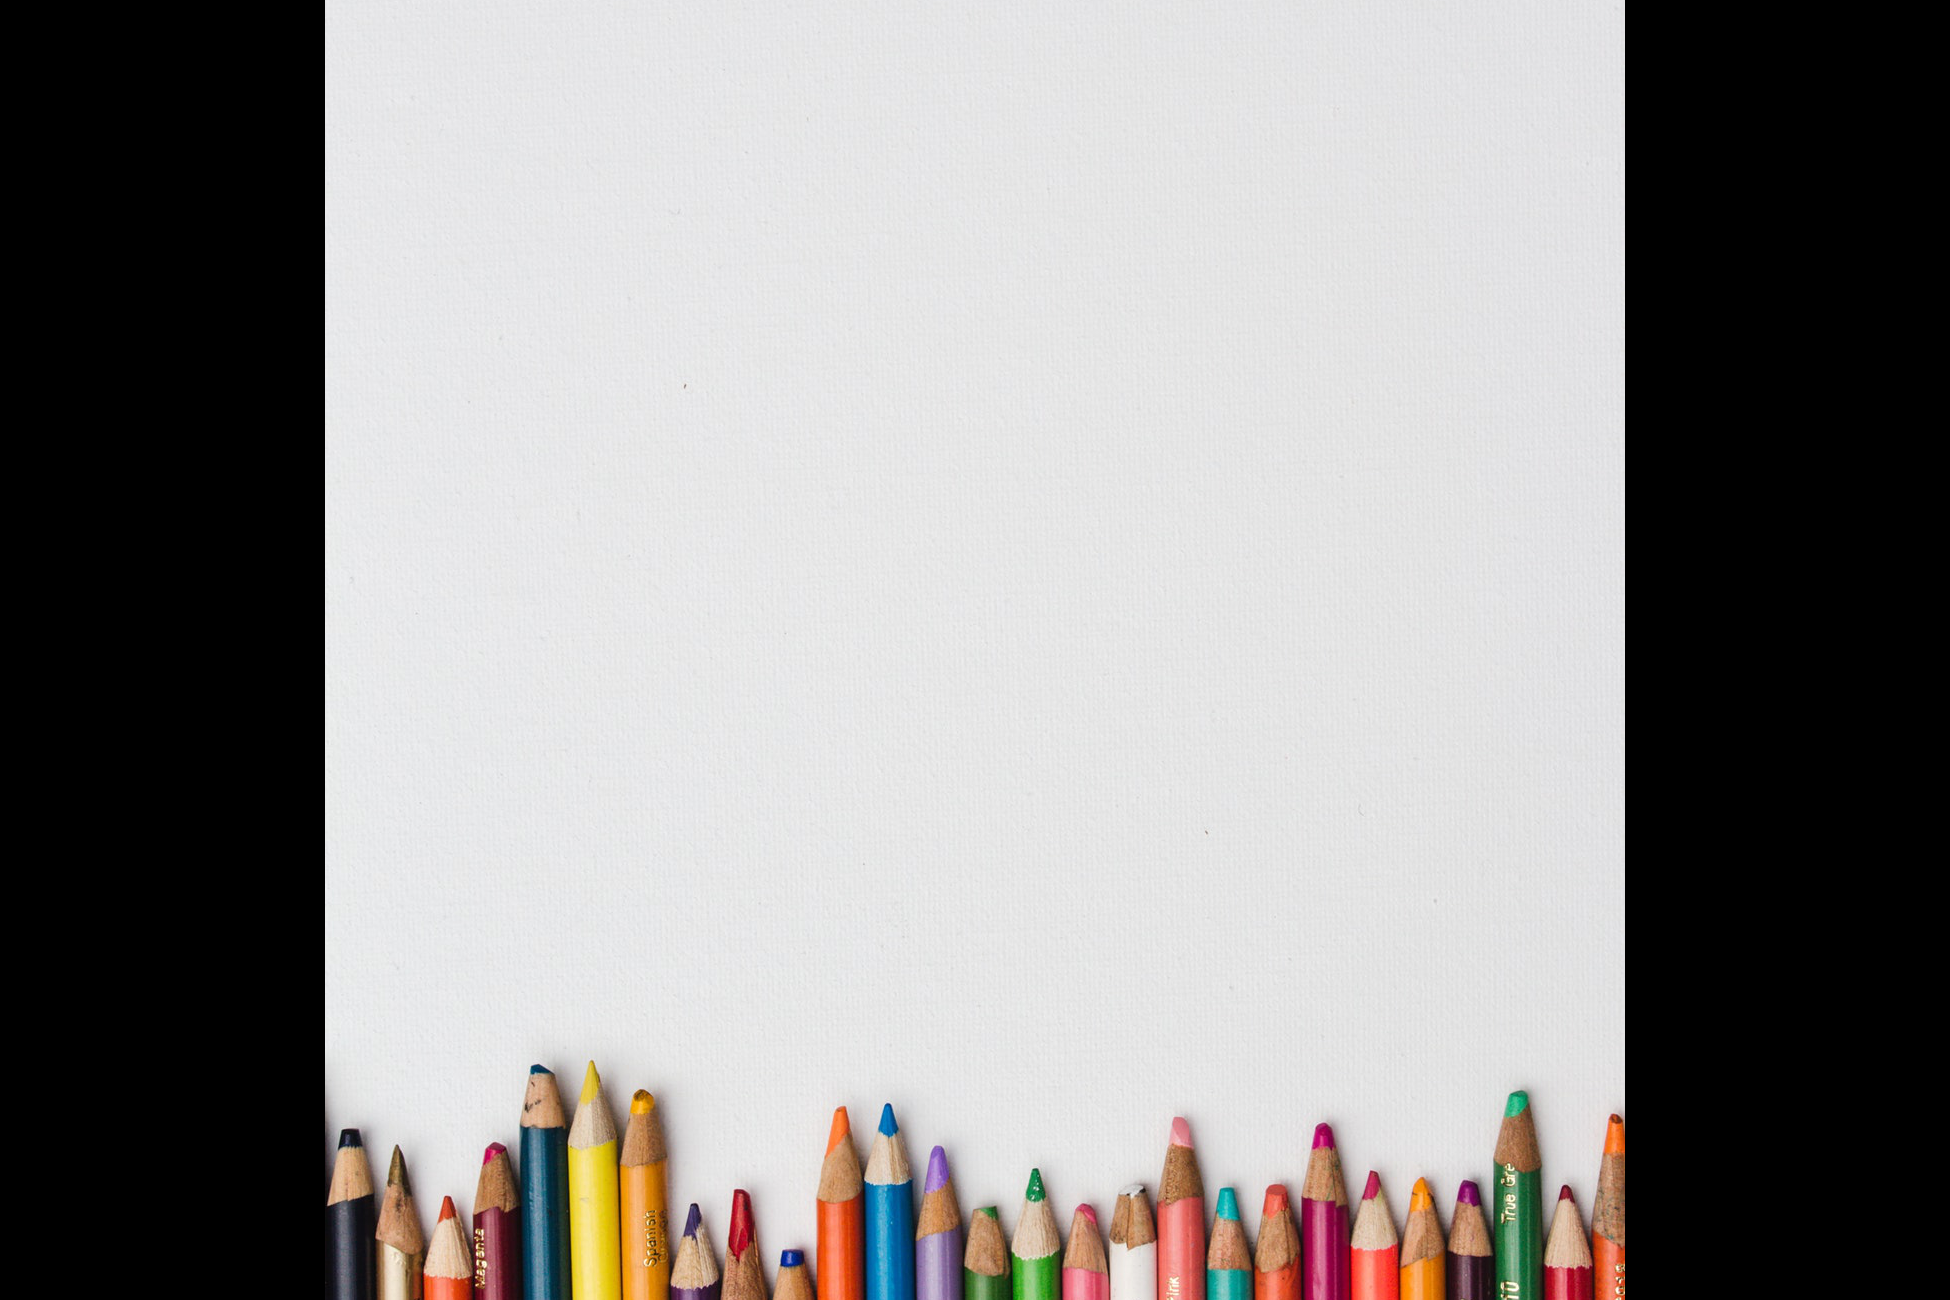
For the mac image this isn’t a very useful demonstration. Let’s use another image instead:
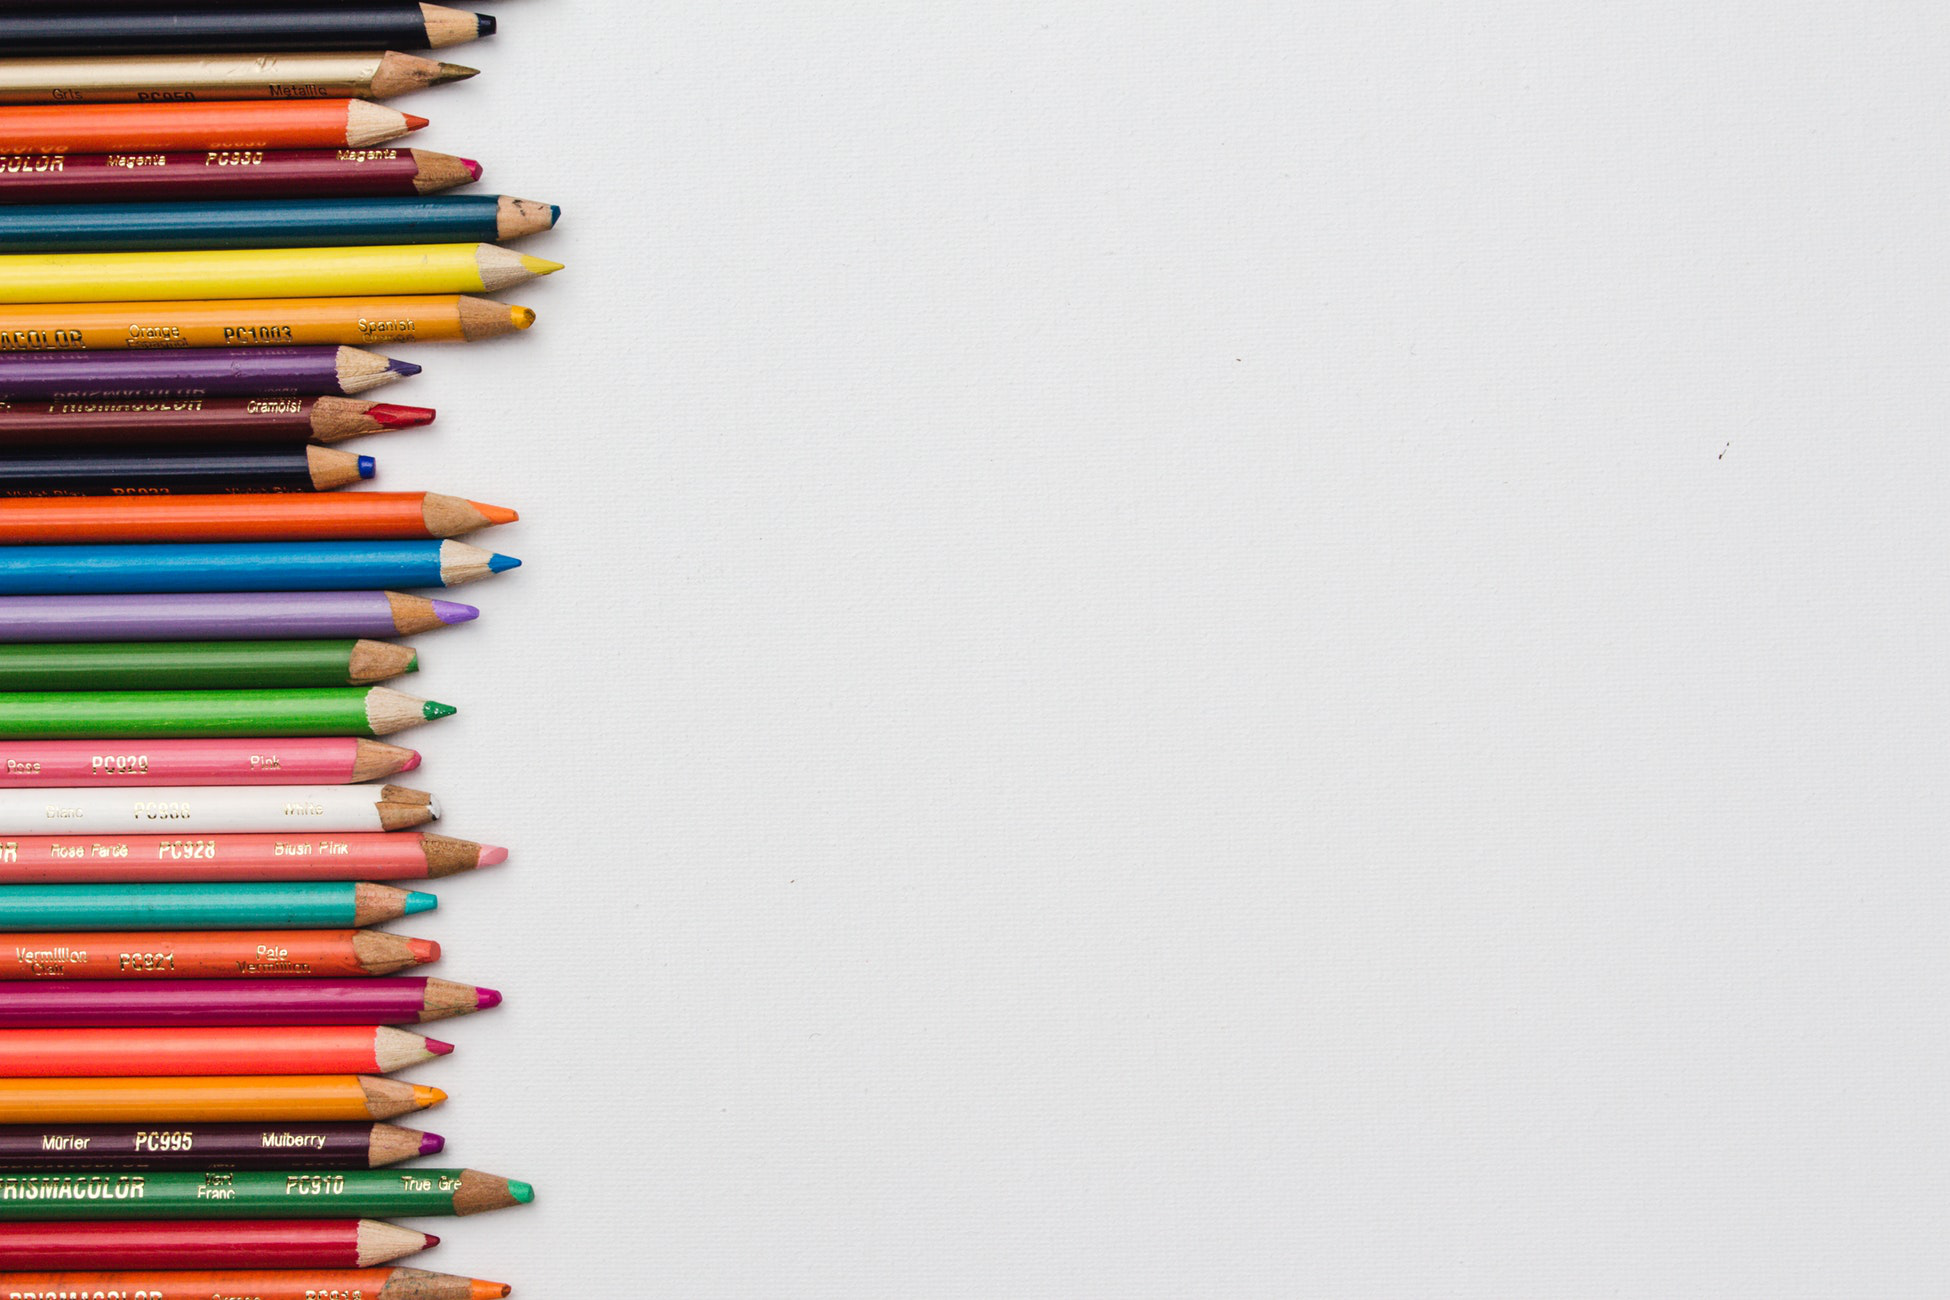
pencils = Image.open("pencils.jpg")
pencils

Now let’s attempt to grab some of the top pencils from the corner
pencils.size
(1950, 1300)
# Start at top corner (0,0)
x = 0
y = 0
# Grab about 10% in y direction , and about 30% in x direction
w = 1950/3
h = 1300/10
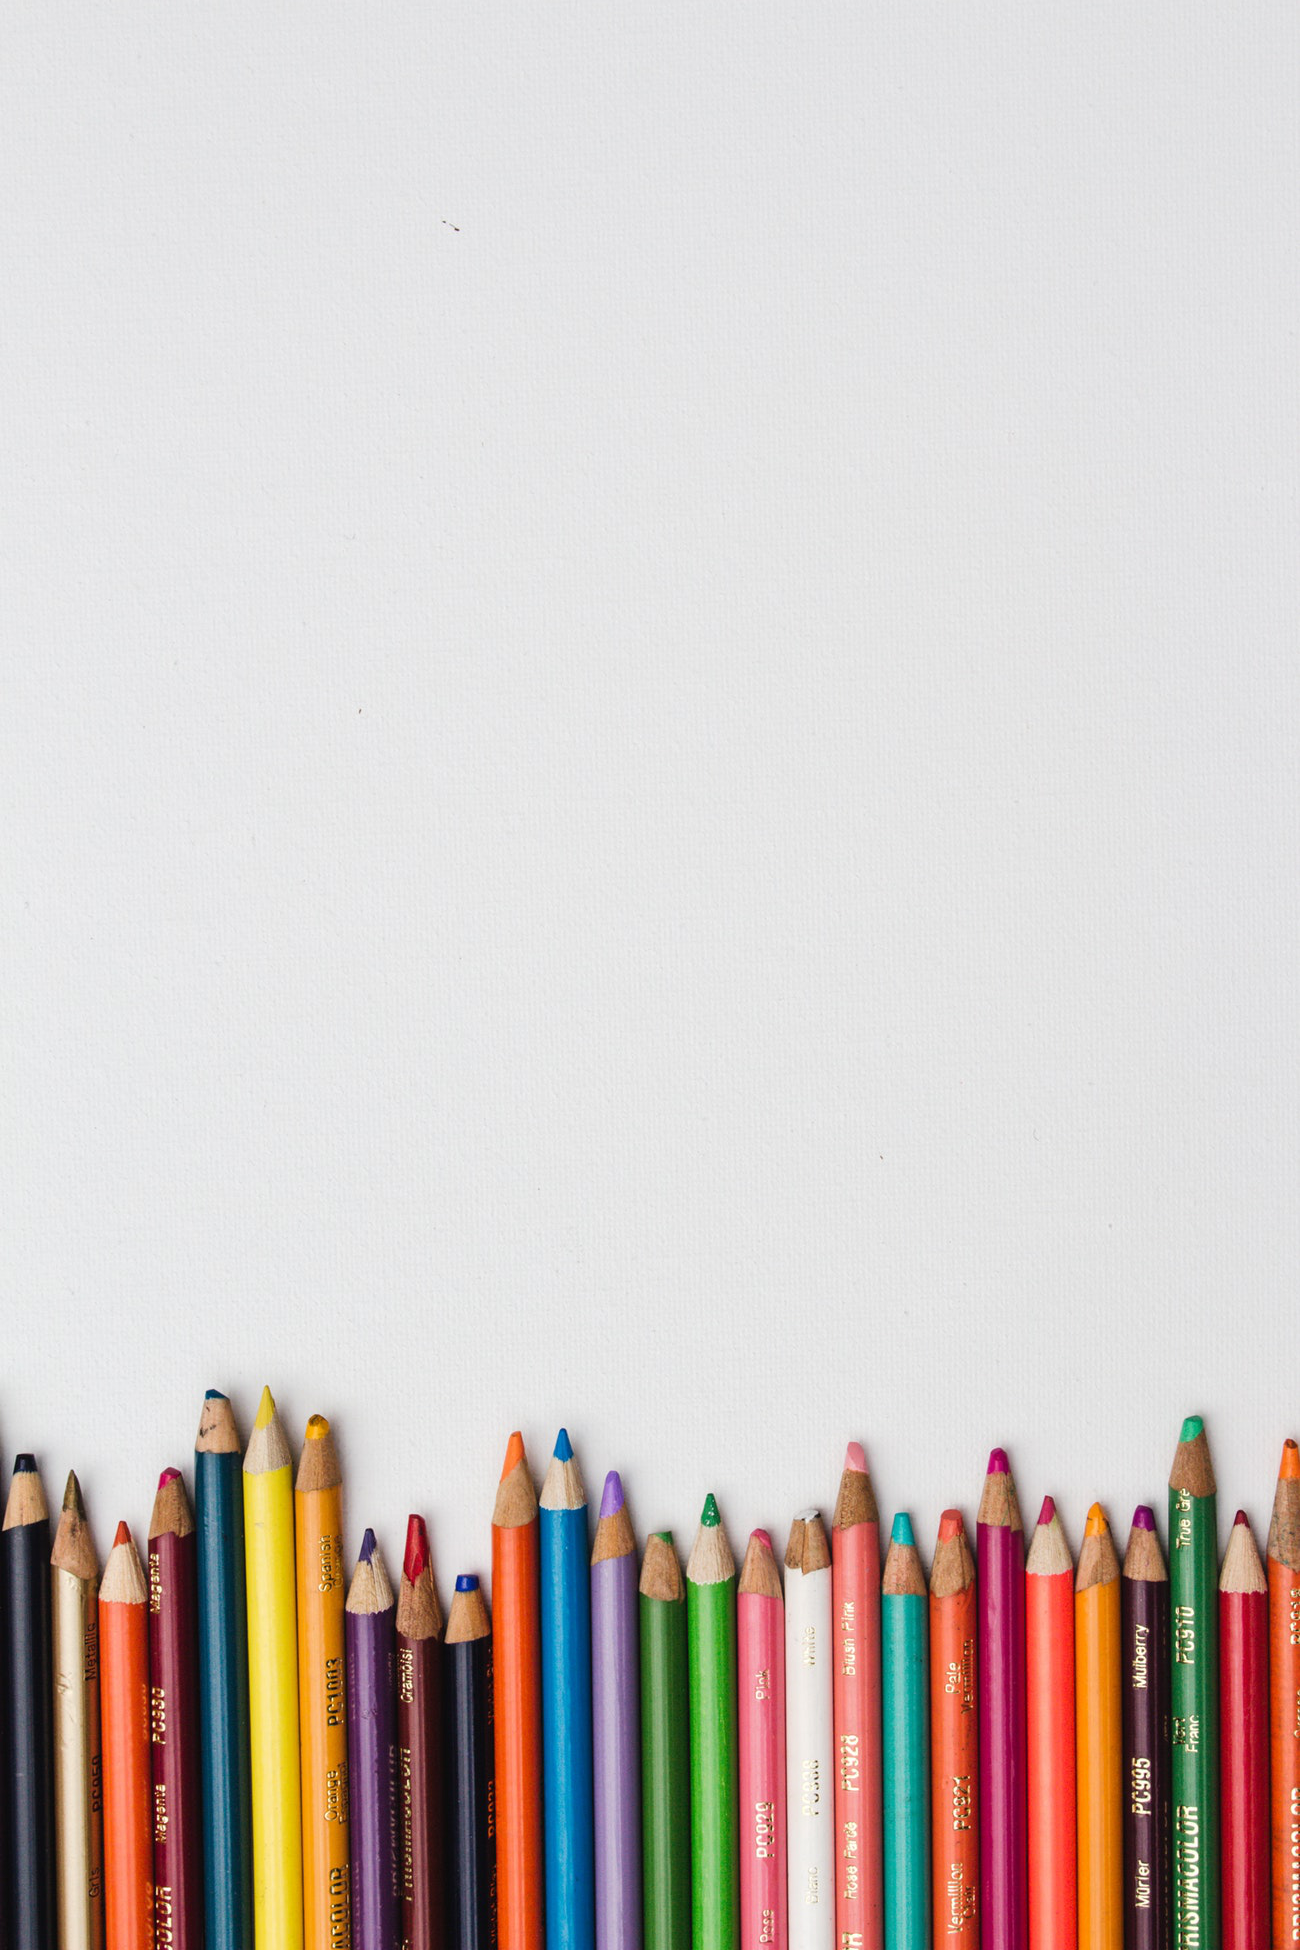
pencils.crop((x,y,w,h))
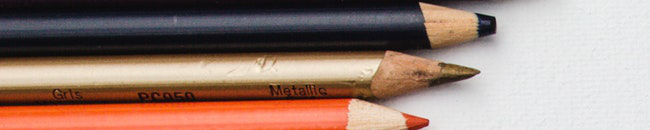
pencils
Now let’s try the pencils from the bottom
pencils.size
(1950, 1300)
x = 0
y = 1100
w = 1950/3
h = 1300
pencils.crop((x,y,w,h))
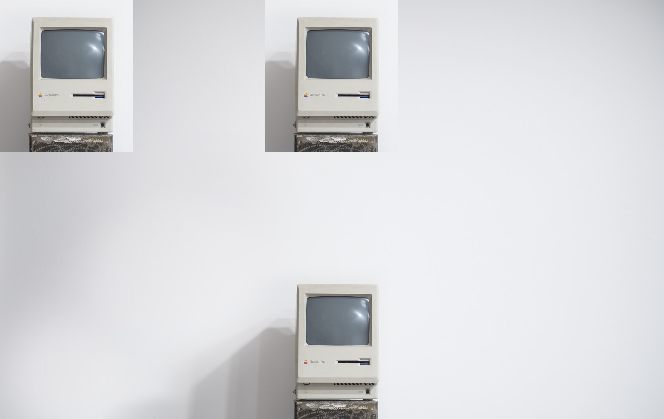
Now let’s go back to the mac photo and see if we can only grab the computer itself:
mac

mac.size
(1993, 1257)
halfway = 1993/2
x = halfway - 200
w = halfway + 200
y = 800
h = 1257
mac.crop((x,y,w,h))
Copying and Pasting Images
We can create copies with the copy() method and paste images on top of others with the paste() method.
computer = mac.crop((x,y,w,h))
mac.paste(im=computer,box=(0,0))
mac
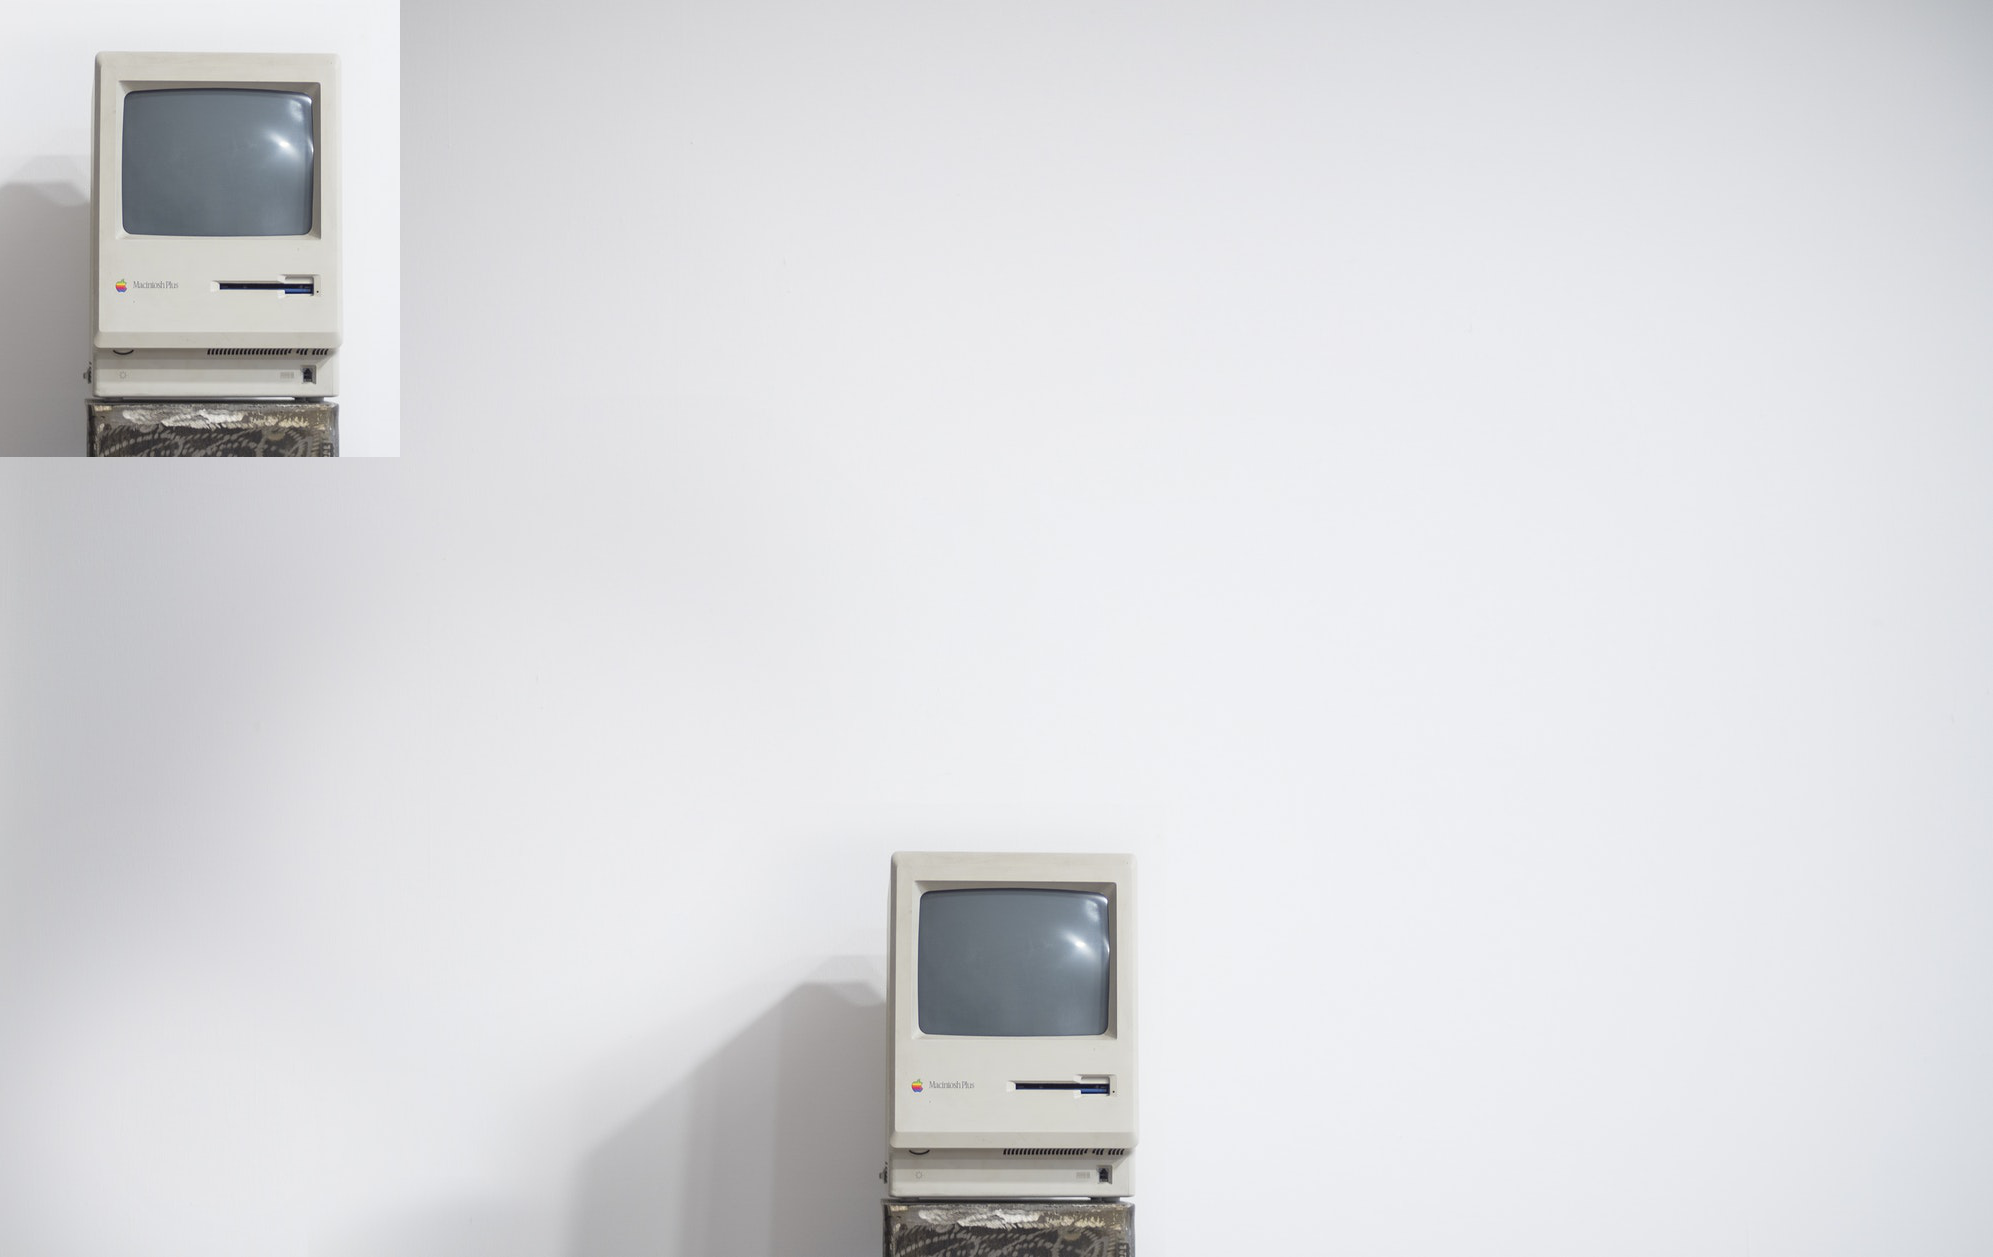
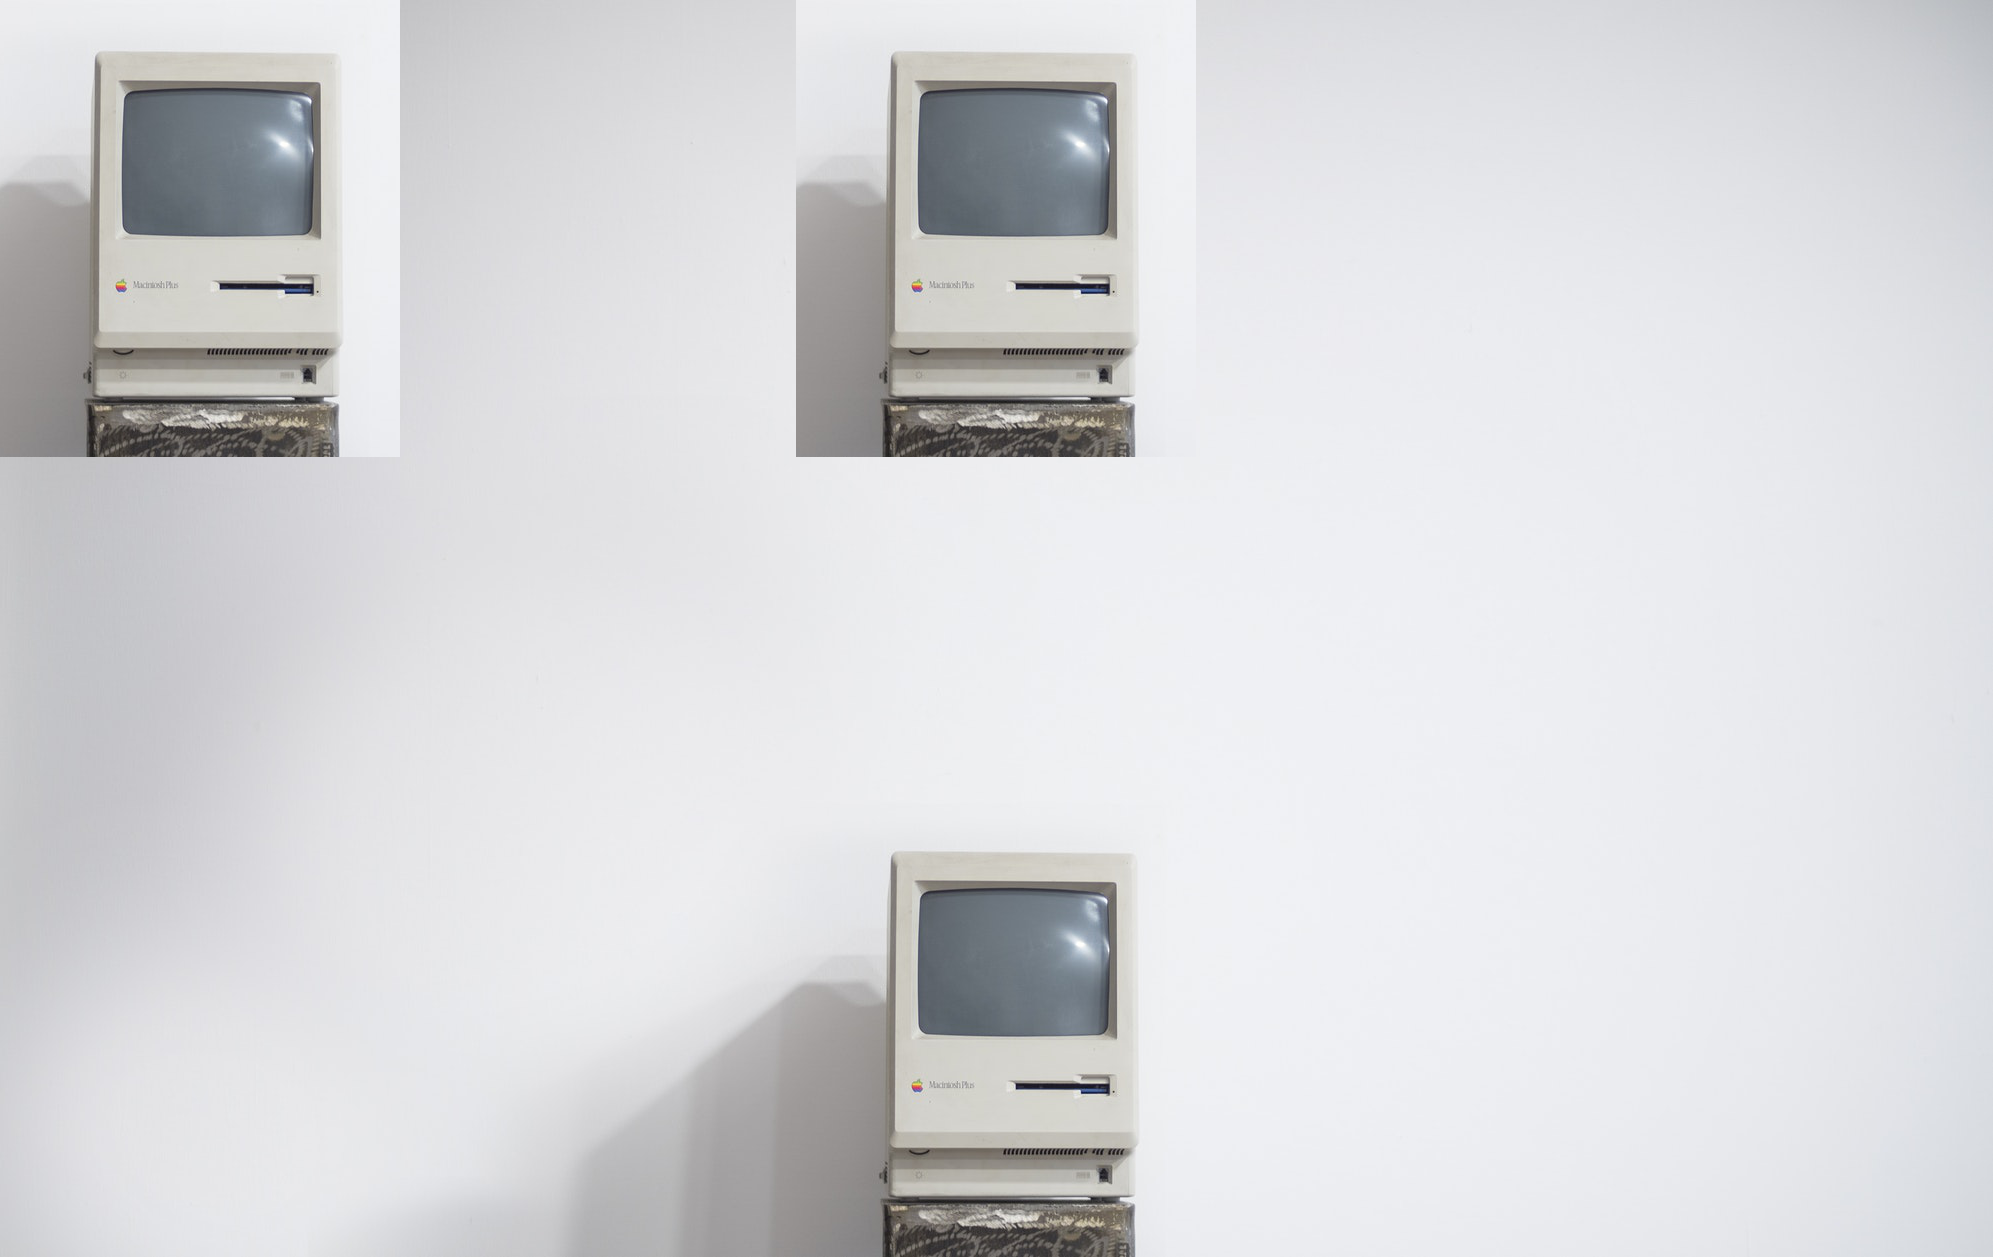
mac.paste(im=computer,box=(796,0))
mac
Resizing
You can use the resize() method to resize an image
mac.size
(1993, 1257)
h,w = mac.size
new_h = int(h/3)
new_w = int(w/3)
# Note this is not permanent change
# for permanent change, do a reassignment
# e.g. mac = mac.resize((100,100))
mac.resize((new_h,new_w))
Can also stretch and squeeze
mac.resize((3000,500))

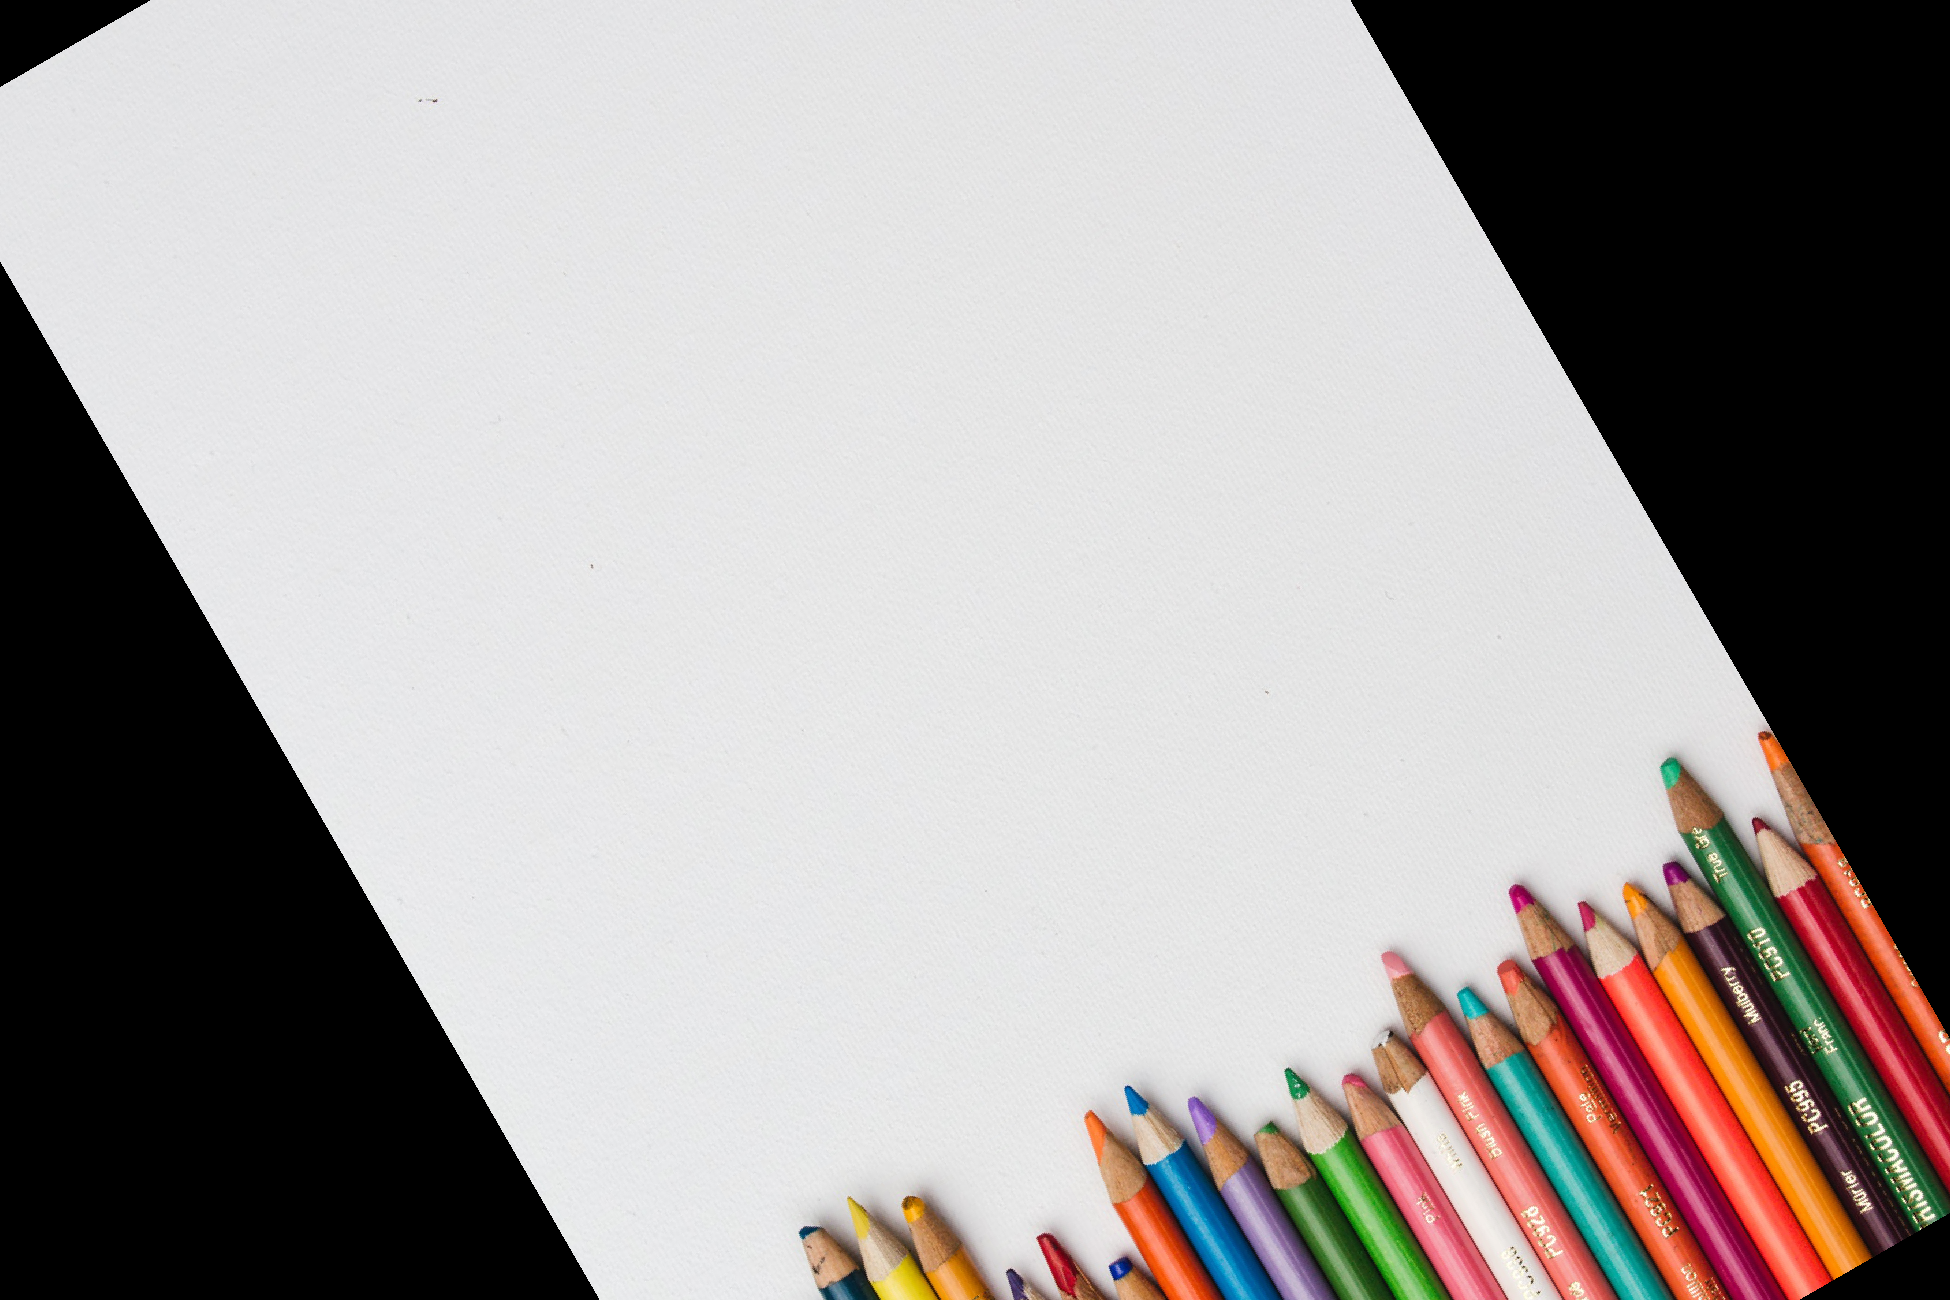
Rotating Images
You can rotate images by specifying the amount of degrees to rotate on the rotate() method. The original dimensions will be kept and “filled” in with black. You can optionally pass in the expand parameter to fill the new rotated image to the old dimensions.
pencils.rotate(90)
pencils.rotate(90,expand=True)
Notice what happens when we rotate by 120.
# The image is cut off
pencils.rotate(120)
#pencils.rotate(120,expand=True)
Transparency
We can add an alpha value (RGBA stands for RED,Green,Blue, Alpha) where values can go from 0 to 255. If Alpha is 0 the image is completely transparent, if it is 255 then its completely opaque.
You can create your own color here to check for possible values: https://developer.mozilla.org/en-US/docs/Web/CSS/CSS_Colors/Color_picker_tool
We can adjust image alpha values with the putalpha() method:
red = Image.open('red_color.jpg')
red

blue = Image.open('blue_color.png')
blue

red.putalpha(128)
red

blue.putalpha(128)
blue

blue.paste(red,box=(0,0),mask=red)
# Get back an image that is more purple.
blue

Transparency and masking can be much more complex than what we’ve shown here, if you find yourself needing something more, check out the documentation: https://pillow.readthedocs.io/en/stable/
Saving Images
Let’s save this updated “blue” image as ‘purple.png’ in this folder.
blue.save("purple.png")
Let’s check to make sure that worked:
purple = Image.open("purple.png")
purple

Great job!